Monday, March 30, 2020

Positive Thoughts Double Fold Project Sheet

Positive Thoughts “Double Fold”
All images © 1990-2020 Stampin’Up!®
Supplies: 
  • Stamp set: Positive Thoughts (151490)
  • Cardstock: Thick Whisper White (140272), Flirty Flamingo (141416), Basic Black (121045), Watercolor paper (149612)
  • Ink: Flirty Flamingo (147052), Tuxedo Black Memento (132708)
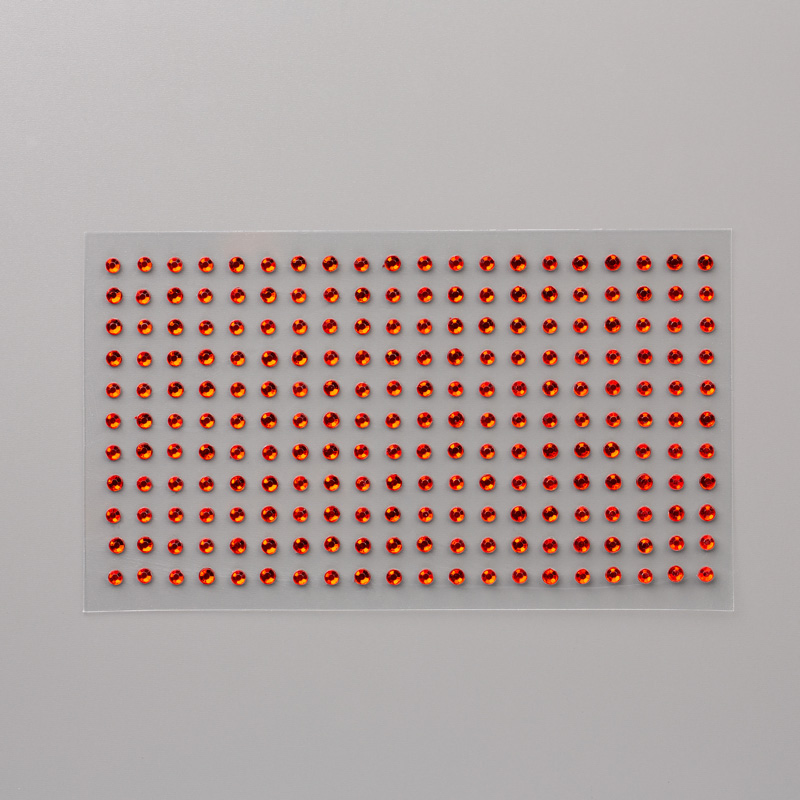
  • Misc: Brights Stampin' Write Markers (147157), Journaling Pens (145480), Clear Wink of Stella Glitter Brush (141897), Clear Block D (118485), Stampin' Spritzer (126185), Champagne Rhinestone Basic Jewels (151193)
Measurements: 
  • Flirty Flamingo: 11 x 4-1/4; score at 2-3/4 and 5-1/2 card base 
  • Whisper White: 9-1/2 x 3-1/2; score at 4-3/4
  • Basic Black: 4-5/8 x 3-3/8
  • Watercolor Paper: 4-1/2 x 3-1/4
Instruction: 
  1. Using the brush tip of the stampin marker, color the D clear block in 3 section. Starting at the top with Daffodil Delight, center with Poppy Parade and bottom with Flirty Flamingo. 
  2. Lightly spritz the colored block using water with the spritz bottle. 
  3. Press onto the watercolor paper onto the right-hand side ... keeping pressure on the block for about 30 seconds. *Let Dry. 
  4. Color stamp flower with the marker. Center Daffodil Delight then the tips using Flirty Flamingo and finish coloring the flower with Poppy Parade. 
  5. Lightly spritz the colored stamp using water with the spritz bottle. 
  6. Stamp onto the watercolor paper. 
  7. Repeat step 4 and 5 to stamp flower inside the Whisper White piece. *Only color once and stamp 3 times. Once on the right-hand side and twice on the left-hand side. 
  8. Stamp the greeting and 2 butterflies using Memento ink onto the watercolor paper. 
  9. Add Wink of Stella in center of flowers and butterfly. 
  10. Randomly stamp flowers using Flirty Flamingo ink on the Flirty Flamingo card base to cover the full piece. 
  11. Stamp the butterflies using Memento black ink randomly onto the 2 first panel. 
  12. Color the butterflies using Wink of Stella. 
  13. Fold whisper white in half; adhere the basic black and the watercolor paper onto the front. 
  14. Keeping the opening section to the left hand-side, adhere onto the right side of the Flirty Flamingo card base. 
  15. Open the white piece and fold the Flirty Flamingo onto the white, then close the white. 
  16. Add 3 Champagne Rhinestones onto the stamped watercolor paper. 
  17. Now you should have a double fold card. 


    Love this project? Here's what you'll need to gather to create this idea on your own ... just click on the images below and add them to your cart.

    Thanks for stopping by today! If you have any questions,
    please contact me and I’d be happy to assist you!

    Make something pretty and get inky! *hugs*

Saturday, March 28, 2020

Honey Bee Gold Project Sheet

Honey Bee Gold

All images © 1990-2020 Stampin’ Up!®
Supplies:
  • Stamp Sets – Honey Bee Bundle (153792); Timeless Tulip (151534)
  • Cardstock –Whisper White (100730); Fluid 100 Watercolor Paper (149612); Vellum Cardstock (101856); Blueberry Bushel (146968); Basic Black (121045); Gold Foil Sheets (132622)
  • Stamp Pads – Memento Black Pad (132708); Versamark (102283); Crushed Curry (147087); Daffodil Delight Light Stampin’ Blend Marker (144586)
  • Misc. – Stitched Nested Labels Dies (149638); Heat Tool (129053); Gold Stampin’ Emboss Powder (109129); Aqua Painter (103954); Peaceful Poppies Sequins (151325); Wink of Stella (141897); Dimensionals (104430); Fine-Tip Glue Pen (138309); Multipurpose Liquid Glue (110755); Die-cutting machine
Measurements:
  • Blueberry Bushel 4-1/4” x 11”, scored at 5-1/2”
  • Whisper White 4” x 5-1/4” (2) 1 for inside card, other for die cutting
  • Basic Black: 4” x 5-1/4”
  • Watercolor Paper: 3-7/8” x 5-1/8”
  • Vellum & Gold Foil: 3” x 3” Scraps for die-cutting 
Instructions:
  1. Fold the 4-1/4” x 11” piece of Blueberry Bushel cardstock in half to create card base. 
  2.  Adhere the 4” x 5-1/4” mat of Whisper White inside the card.
  3. Squeeze the lid of the Crushed Curry ink pad and use your Aqua Painter to create swirls of Crushed Curry ink, moving from the bottom up to create an ombre effect. Set aside to dry.
  4. Stamp the Hive and the 2 bees onto the scrap of Whisper White cardstock using Memento Black ink; cut out using the corresponding dies. 
  5. Color the bee’s using the Light Daffodil Delight Blend and highlight both bees & the Hive with Wink of Stella. Set aside.
  6. Using remaining White Cardstock, cut out 3 sets of the honeycomb. 
  7. Using the Gold Foil paper, cut one partial set of the honeycomb (enough for 3 gold hexagons) and one ornate bee. 
  8. Mount the Watercolor Paper onto the Basic Black mat. Using the Fine-Tip Glue Pen, glue down the white honeycomb shapes. Glue the Hive over the Honeycombs. Adhere the large stamped bee over the Gold ornate bee and apply to card using Dimensionals. Apply small bee to card using Dimensional.
  9. Using the sentiment from Timeless Tulip, stamp in Versamark into the scrap of Vellum Cardstock and heat emboss using Gold Embossing Powder & your heat tool. Cut the sentiment using the appropriate die from the Stitched Nested LabelsApply to card with Liquid Glue.
  10. Use the Fine-Tip Glue Pen to apply a black, gold & clear sequin, as well as 3 Gold Foil hexagons inside the honeycomb.
If you'd like to create this project, here's a list of the products you'll need to gather! Just click on a photo below and you'll be directed to my online store: Shop with Debbie!

CLICK TO SHOP - Product List

Thanks for stopping by today! If you have any questions,
please contact me and I’d be happy to assist you!
Make something pretty and get inky! *hugs*

Tuesday, March 24, 2020

3rd Sale-a-Bration Release ... Ends March 31st!

The Sale-A-Bration Third Release

Sale-A-Bration Third Release products are now available for you to earn! These new additional offerings include select, current Stampin’ Up! products, newly available to earn for Sale-A-Bration.

If you enjoy having Designer Series Paper on hand, this is the release for you.
This is also a great time to get your favorite 2018-2020 In Color products like ink refills, cardstock, markers, etc. 
These retire June 2nd.


Act fast, though, because orders must be closed by March 31!

Sale-A-Bration Third Release

Sale-A-Bration Third Releases Sale-A-Bration Third Releases Sale-A-Bration Third Releases Sale-A-Bration Third Releases Designer Series Paper Sale-A-Bration Third Releases Sale-A-Bration Third Releases Sale-A-Bration Third Releases Sale-A-Bration Third Releases

SHIMMER DETAILED LASER-CUT SPECIALTY PAPER

Shimmer Detailed Laser-Cut Specialty Paper includes delicately detailed laser-cut sheets with a touch of shimmer. Vanilla on one side, white on the other side. One design is a 12" x 12" (30.5 x 30.5 cm) pattern; the other design has distinct patterns to cut out and use on card fronts.

* 6 sheets: 3 each of 2 designs
* 12" x 12" (30.5 x 30.5 cm)
* Acid free
* Lignin free

Coordinating Colors: Very Vanilla, white


The Sale-A-Bration Third Release

Follow Your Art Designer Series Paper celebrates all kinds of crafting. Craft to your heart’s delight with its fun, creative designs.

* 12 sheets of patterned paper: 2 each of 6 double-sided designs
* 12" x 12" (30.5 x 30.5 cm)
* Acid free
* Lignin free

Coordinating colors: Basic Gray, Blushing Bride, Calypso Coral, Coastal Cabana, Crushed Curry, Pacific Point, Whisper White

Thanks for stopping by today! If you have any questions,
please contact me and I’d be happy to assist you!
Make something pretty and get inky! *hugs*